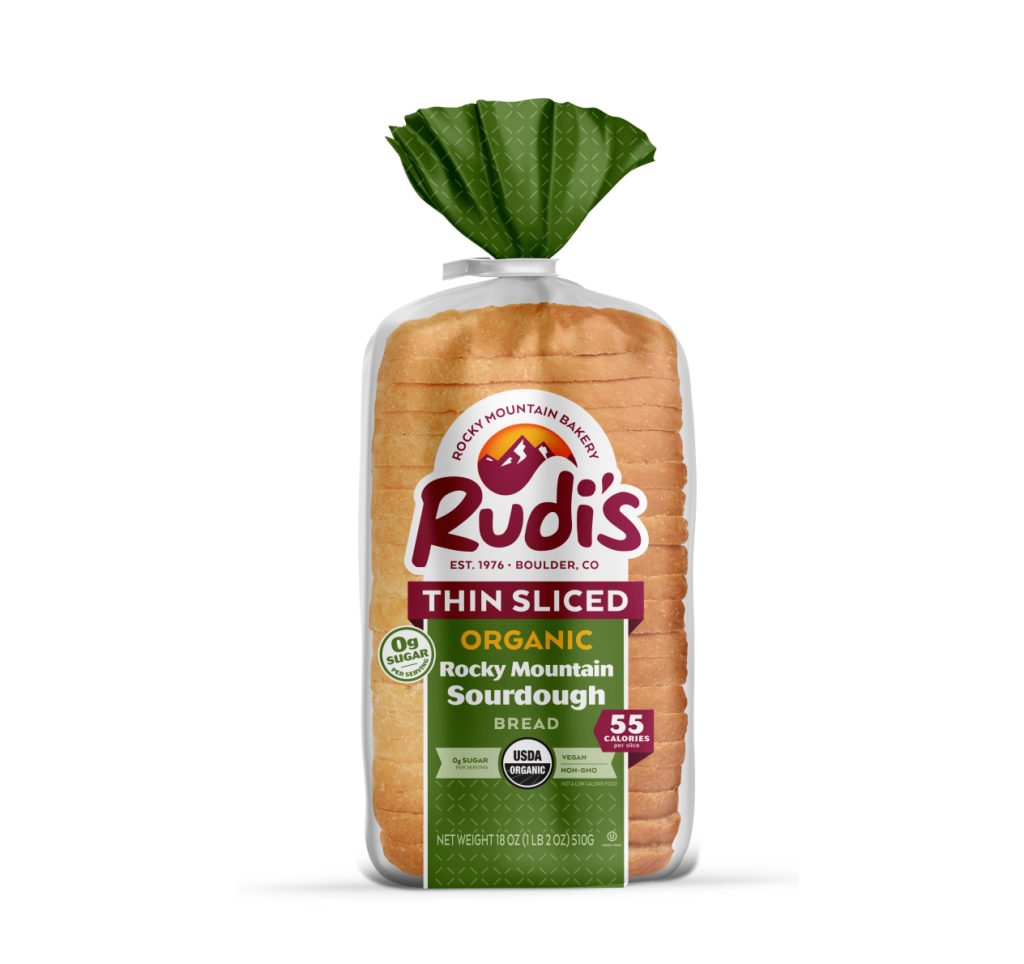
Sourdough tin sliced bread offers a perfect blend of taste and convenience. This bread is a favorite for its tangy flavor and soft texture.
Sourdough has a rich history and unique baking process. The fermentation gives it a distinct taste that many love. Tin sliced sourdough makes it even more accessible. You get the delicious flavor without the hassle of slicing. Ideal for sandwiches, toast, or just plain with butter.
It brings the artisan bakery feel to your kitchen. Plus, it stays fresh longer because of the fermentation process. Whether you are a sourdough enthusiast or a newbie, sourdough tin sliced bread is a delightful addition to your pantry. Dive into the world of sourdough and enjoy its many benefits.
Choosing The Right Sourdough
Choosing the right sourdough for your tin sliced bread can make all the difference between a good loaf and an extraordinary one. With so many options available, it can be overwhelming to pick the perfect one for your needs. Let’s break it down and explore the different types of sourdough and the best flour to use.
Types Of Sourdough
Sourdough varieties can be classified based on their flavor, texture, and the type of flour used. Here are some popular choices:
- Traditional Sourdough: This classic sourdough has a tangy flavor and chewy texture. It’s made with a simple combination of flour, water, and wild yeast.
- Whole Wheat Sourdough: For a nuttier flavor and denser crumb, whole wheat sourdough is the way to go. It also boasts higher nutritional value due to the bran and germ content.
- Rye Sourdough: This type is known for its strong, earthy flavor and dense texture. Rye sourdough is often darker and pairs well with robust toppings.
- Spelt Sourdough: Made from an ancient grain, spelt sourdough has a slightly sweet and nutty flavor. It’s easier to digest for some people who are sensitive to wheat.
Consider what flavor and texture you prefer. Do you like a dense, earthy bread or a light, tangy loaf? Your preference will guide you toward the right type of sourdough.
Best Flour For Sourdough
The flour you choose plays a pivotal role in the quality of your sourdough. Here are some top choices:
- Bread Flour: Ideal for beginners, bread flour has a higher protein content, which helps develop strong gluten networks. This results in a chewy texture and excellent rise.
- All-Purpose Flour: Versatile and widely available, all-purpose flour can produce a good sourdough loaf. It’s a great option if you want a more tender crumb.
- Whole Wheat Flour: This flour adds a hearty flavor and dense texture to your sourdough. It’s packed with nutrients, making your bread more wholesome.
- Rye Flour: Perfect for adding depth and complexity to your sourdough, rye flour has lower gluten content, which can result in a denser loaf.
Consider experimenting with different flours. You might be surprised at how much the flour impacts the final product. Have you tried mixing flours for a unique blend? This can open a whole new world of flavors and textures.
Choosing the right sourdough and flour can be a fun journey of discovery. What type of sourdough will you try next? The best part is, there’s no right or wrong answer—just delicious possibilities waiting to be explored.
Preparing The Dough
Making sourdough tin sliced bread at home can be a truly rewarding experience. It all starts with preparing the dough. This step is crucial because it sets the foundation for the texture and flavor of your bread. Whether you’re a seasoned baker or a newbie, getting the dough right ensures your bread will have that perfect chewy crust and soft crumb.
Mixing Ingredients
The first step in preparing the dough is mixing the ingredients. You’ll need:
- 500g of strong white bread flour
- 300ml of water
- 100g of sourdough starter
- 10g of salt
Start by combining the flour and water in a large bowl. Mix them until the flour is fully hydrated. Let this mixture sit for about 30 minutes. This rest period, known as autolyse, helps develop the gluten.
After the autolyse, add your sourdough starter and salt. Mix everything together until you have a cohesive dough. You can use a wooden spoon or your hands for this. Personally, I love using my hands because it helps me feel the texture of the dough better.
Kneading Techniques
Kneading is what gives your bread structure. There are different techniques you can use, but the goal is always the same: developing gluten to make your dough elastic and smooth.
If you’re new to kneading, try the fold and stretch method. Here’s how:
- Lightly flour your work surface.
- Place your dough on the surface and gently stretch it out.
- Fold the dough over itself, turn it 90 degrees, and repeat.
Do this for about 10 minutes. Your dough should become less sticky and more elastic. If you’re feeling adventurous, try the slap and fold technique. Lift the dough up and slap it down onto the surface, then fold it over itself. This method can be messy but it’s incredibly effective in building strength in your dough.
What if your dough feels too sticky? Don’t panic. Lightly flour your hands and the surface, but be cautious not to add too much flour, which can make your bread dense.
Do you have a favorite kneading technique? Share it in the comments below. Your insights can help others perfect their sourdough tin sliced bread.
Preparing the dough might seem daunting at first, but with practice, it becomes second nature. Remember, each step you take brings you closer to enjoying a slice of homemade sourdough bread. Happy baking!
First Rise Tips
Discover the perfect method for creating delicious sourdough tin sliced bread. Follow these simple tips for a perfect rise every time. Enjoy soft, tasty slices with minimal effort.
When it comes to baking the perfect Sourdough Tin Sliced, the first rise is crucial. It sets the foundation for the texture, flavor, and overall success of your bread. Let’s dive into some essential tips to ensure your first rise is spot on.Ideal Temperature
Maintaining the right temperature is key for a successful first rise. Your dough should be kept in a warm environment, ideally between 75°F and 78°F (24°C to 26°C). Too cold, and the yeast won’t activate properly. Too hot, and you risk over-proofing. A helpful tip is to use your oven as a proofing box. Turn on the oven light to create a warm, draft-free environment. Just be sure to keep an eye on the temperature to avoid overheating. Have you ever wondered why your dough didn’t rise as expected? Check your room temperature. Sometimes, simply moving the bowl to a different spot in your kitchen can make all the difference.Duration
The duration of the first rise can vary, but typically it takes anywhere from 4 to 12 hours. The exact time depends on the temperature, the strength of your starter, and the flour you’re using. A good rule of thumb is to watch the dough, not the clock. Your dough should double in size. This can happen faster in a warmer environment or take longer if it’s cooler. For more control, you can use a see-through container to track the rise. Mark the container with a rubber band or a piece of tape at the starting level. This visual cue helps you gauge progress without guessing. If you’re in a hurry, you might be tempted to cut the rise short. Resist this urge. The first rise is where the magic happens, developing the flavor and structure of your bread. In the end, patience pays off. Take the time to monitor your dough and make adjustments as needed. Your Sourdough Tin Sliced will thank you! What challenges have you faced during the first rise? Share your experiences and let’s troubleshoot together. Remember, the journey to perfect sourdough is all about learning and adapting. Happy baking!
Credit: www.safeway.com
Shaping The Dough
Shaping the dough is a crucial step in making sourdough tin sliced bread. This process ensures the dough rises well and bakes evenly. Proper shaping also gives the bread its final form. Let’s dive into the details.
Forming Loaves
First, lightly flour your work surface. Then, turn out the dough. Divide it into even pieces. Shape each piece into a loaf. Gently stretch and fold the dough. This creates surface tension. It helps the loaf hold its shape. Repeat this step for each piece. Let the loaves rest for a few minutes.
Using A Tin
Grease your bread tins lightly. Place each shaped loaf inside a tin. Ensure the dough fills the tin evenly. Cover the tins with a damp cloth. Let the dough rise until it doubles in size. This might take a few hours. Preheat your oven as the dough rises. Once ready, bake the loaves until golden brown. Let them cool before slicing. Enjoy your homemade sourdough tin sliced bread!
Second Rise Strategies
Second Rise Strategies offers delicious sourdough tin sliced bread, perfect for sandwiches and toast. Enjoy the rich, tangy flavor with every bite.
When baking Sourdough Tin Sliced bread, mastering the art of the second rise is crucial. The second rise, or proofing, can make or break the texture and flavor of your loaf. By focusing on the right strategies, you can ensure your bread turns out light, airy, and full of those delicious sourdough flavors. In this section, we’ll dive into some practical tips for the second rise, and how to avoid common pitfalls.Proofing Tips
Proofing your dough is both an art and a science. The second rise is where your dough develops its final structure. Here are some tips to help you get it just right: 1. Keep it Warm: Your dough loves warmth. A cozy spot with a consistent temperature between 75-85°F (24-29°C) is ideal. This helps the yeast to work effectively, producing the gas needed to make your bread rise. 2. Cover it Up: Prevent your dough from drying out by covering it with a damp cloth or plastic wrap. This keeps the surface moist and helps maintain a stable environment. 3. Time it Right: The second rise typically takes between 1-2 hours. However, the exact time can vary depending on the temperature and the activity of your starter. Watch your dough rather than the clock. You want it to double in size. 4. The Poke Test: Gently poke your dough with a floured finger. If the indentation springs back slowly and leaves a slight mark, your dough is ready. If it springs back quickly, it needs more time.Avoiding Overproofing
Overproofing is when your dough rises too much and then collapses. It’s a common mistake but entirely avoidable with some awareness: 1. Set a Timer: It’s easy to get distracted, so set a timer to remind you to check your dough. This helps you keep track of the time without constantly worrying. 2. Use the Fridge: If you’re busy, pop your dough in the fridge to slow down the fermentation. This technique, called retarding, can add more flavor and give you more control over the proofing process. 3. Check Regularly: Don’t just set it and forget it. Keep an eye on your dough and check its progress. This helps you catch it before it’s too late. 4. Learn from Mistakes: If you do overproof, don’t worry. Take notes and adjust your timing next time. Baking is a learning process, and even the best bakers make mistakes. By mastering these second rise strategies, you can ensure that your sourdough tin sliced bread comes out perfect every time. What other tips have you found useful in your baking journey? Share your experiences and let’s learn together!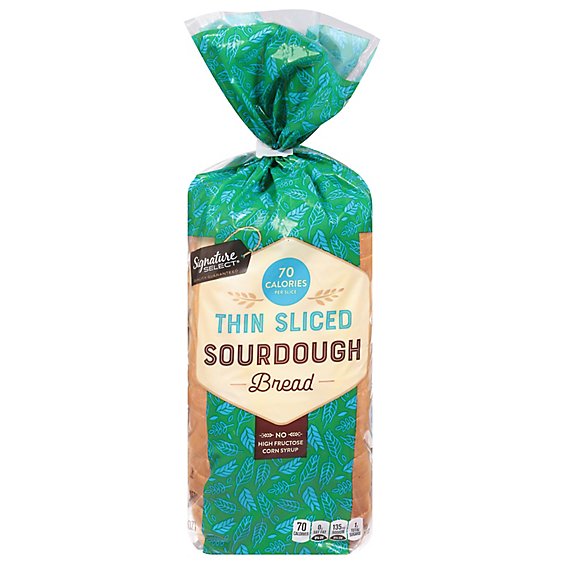
Credit: www.safeway.com
Baking For Perfection
Sourdough tin sliced bread is a delight. Achieving the perfect bake can be tricky. This guide will help you master it. Let’s explore the key elements.
Oven Settings
The right oven settings are crucial. Preheat your oven to 220°C (428°F). A hot oven gives a good rise. A steady temperature ensures even baking. Use an oven thermometer for accuracy. Keep the oven door closed to maintain heat. Consistent temperature is key for perfect bread.
Steam Methods
Steam creates a crisp crust. There are different methods to add steam. Place a pan of water in the oven. The water will create steam as it heats. Another way is to mist the dough with water before baking. You can also use a spray bottle. Spray the sides of the oven with water. Do this in the first 10 minutes. Steam helps the dough expand and creates a lovely crust.
Cooling And Storing
Sourdough Tin Sliced bread is a treat for the senses. But how you cool and store it impacts its taste and texture. Proper cooling and storage keep your bread fresh and delicious. Let’s explore the best methods for cooling and storing your sourdough tin sliced bread.
Cooling Techniques
After baking, let your sourdough tin sliced bread cool completely. Place it on a wire rack. This prevents condensation. Don’t leave it in the tin. Heat trapped inside can make the bread soggy.
Allow at least one hour for cooling. The crust firms up while the inside stays soft. Cutting too soon can ruin the texture. Patience is key for perfect slices.
Storage Solutions
Store your sourdough tin sliced bread in a breathable bag. Paper or cloth bags work best. They keep the crust crisp while preventing it from drying out. Avoid plastic bags. They trap moisture and can make the bread moldy.
If you need to store it longer, freeze the bread. Slice it first for easier use. Wrap each slice in parchment paper. Then place them in a freezer-safe bag. Thaw slices at room temperature or toast them directly from frozen.
Keep your bread away from direct sunlight. Heat and light can make it stale faster. A cool, dark place is ideal.
Slicing Techniques
Slicing sourdough tin bread can be tricky. You need patience and the right technique. Good slicing makes each piece perfect for sandwiches, toast, or snacking. Let’s explore the best slicing techniques for sourdough tin bread.
Choosing The Right Knife
The right knife is key. A serrated knife works best. Its saw-like edges cut through the crust smoothly. The blade should be long and sharp. This helps in making clean cuts without squashing the bread.
Creating Even Slices
Even slices look good and are easy to use. Start by placing the bread on a cutting board. Hold the knife firmly and make gentle, sawing motions. Don’t press hard. Let the knife do the work.
Cut slowly and keep your hand steady. Ensure each slice is the same width. This way, all your slices will be even and neat. Practice makes perfect. With time, you will get better at slicing your sourdough tin bread.
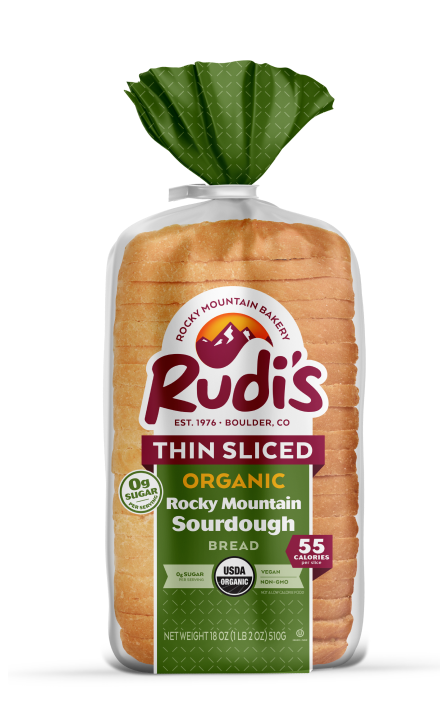
Credit: rudisbakery.com
Frequently Asked Questions
Can You Buy Sourdough Bread Sliced?
Yes, you can buy sliced sourdough bread. Many bakeries and grocery stores offer pre-sliced sourdough for convenience.
Can You Make Sourdough Bread In A Tin?
Yes, you can make sourdough bread in a tin. Use a loaf tin for support and shape. Ensure proper proofing and baking for best results.
Is Sourdough Actually Healthier Than Regular Bread?
Yes, sourdough is healthier than regular bread. It contains probiotics, lower gluten, and higher nutrients. Its long fermentation process improves digestion and nutrient absorption.
Is There A Thin Sliced Sourdough Bread?
Yes, thin sliced sourdough bread is available. Many bakeries and grocery stores offer it. Check local bakeries or online retailers.
Conclusion
Sourdough tin sliced bread offers delightful taste and texture. It’s perfect for sandwiches and toast. The tangy flavor complements various toppings. Baking at home brings a sense of accomplishment. Plus, it’s healthier than store-bought bread. Experiment with recipes to find your favorite.
Enjoy the process and the results. Share your creations with loved ones. Sourdough tin sliced bread is a great addition to your baking repertoire. Dive into the world of homemade bread today. Happy baking!
{ “@context”: “https://schema.org”, “@type”: “FAQPage”, “mainEntity”: [ { “@type”: “Question”, “name”: “Can you buy sourdough bread sliced?”, “acceptedAnswer”: { “@type”: “Answer”, “text”: “Yes, you can buy sliced sourdough bread. Many bakeries and grocery stores offer pre-sliced sourdough for convenience.” } } , { “@type”: “Question”, “name”: “Can you make sourdough bread in a tin?”, “acceptedAnswer”: { “@type”: “Answer”, “text”: “Yes, you can make sourdough bread in a tin. Use a loaf tin for support and shape. Ensure proper proofing and baking for best results.” } } , { “@type”: “Question”, “name”: “Is sourdough actually healthier than regular bread?”, “acceptedAnswer”: { “@type”: “Answer”, “text”: “Yes, sourdough is healthier than regular bread. It contains probiotics, lower gluten, and higher nutrients. Its long fermentation process improves digestion and nutrient absorption.” } } , { “@type”: “Question”, “name”: “Is there a thin sliced sourdough bread?”, “acceptedAnswer”: { “@type”: “Answer”, “text”: “Yes, thin sliced sourdough bread is available. Many bakeries and grocery stores offer it. Check local bakeries or online retailers.” } } ] }
